

Framing & Hanging Guide
Fitting Your Print
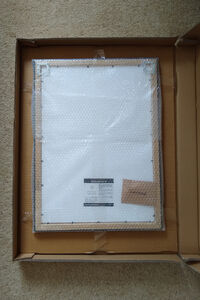
Order one of our museum-quality frames and effortlessly fit your print into it within the comfort of your own home: — Step 1 — Carefully open the courier box containing your frame and remove all the excess packaging, taking care not to damage the frame in the process. — Step 2 — With clean hands, lay your frame face down on a dust-free surface. A clean towel spread across a table is a good option. Pry up the clips on the back of the frame and remove the backing board. Do not remove the glass. — Step 3 — Flip your artwork over so it's face down. Lower the artwork on top of the glazing, then insert the backing board. Bend the clips down to secure everything in place.
A4 Frames
Now that your artwork is fitted, it's time to hang your frame. If you've ordered an A4 frame, follow the steps below: — Step 1 — Hold your frame up to the wall where you'd like to hang it. — Step 2 — Mark the wall at the top center of the frame. — Step 3 — Measure 10mm below that point and make a mark with a pencil. — Step 4 — Hammer your nail, leaving roughly 5mm of the nail showing. — Step 5 — Hang the frame onto the nail and straighten as required.
A3, A2, A1, A0 Frames
If you've ordered a larger frame, it'll come with pre-installed corner brackets. The clever sawtooth design of the brackets will allow you to lift the frame slightly and adjust as needed: